mile high photographer workshop
I was once told you learn 90% of what you teach. I enjoyed teaching 90% of what i know to 90% of Denver’s best photographers at a recent Mile High Photographers workshop.
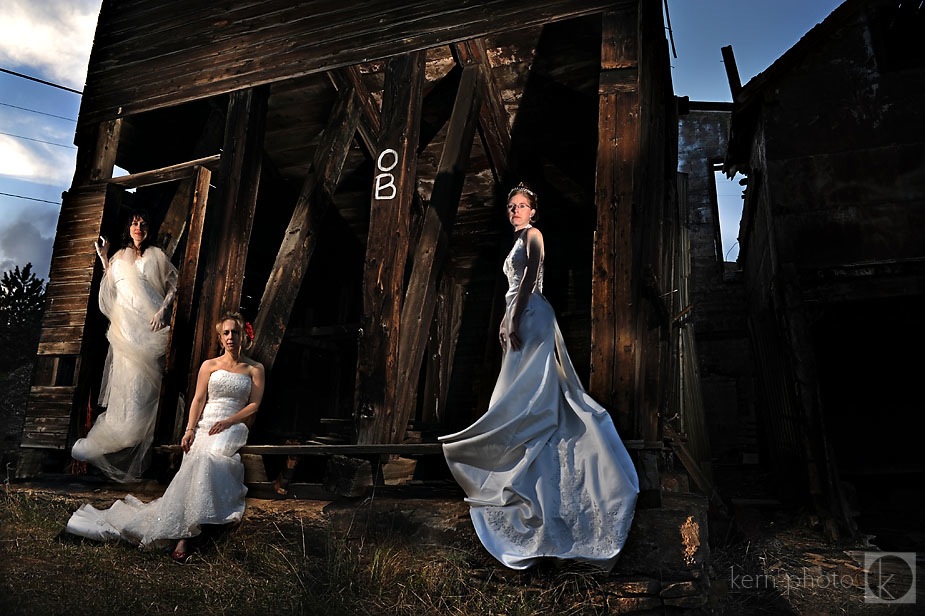
This image (above) was created using a “single light, multiple exposure” technique. One Nikon SB-28 was used at 1/16 power with a homemade grid and triggered via Pocketwizard with a D700 mounted on a tripod. The goal of the image was to create a surreal photograph of a static pose with conflicting shadows. Static portraiture has been around for hundreds of years, starting with paintings of royalty in mansions. The technique can still be applied in digital photography today.
Basically, you are compositing several images into one using one flash as a main light source. The usefulness of the technique is it can be applied anytime of day regardless of ambient light and using only one flash. About 6 images were taken and then combined in Photoshop as a composite.
Here’s some tips & tricks I’ve learned after much practice with this creative lighting technique:
Step A. Prep
1. Camera on Tripod (handholding will increase computer time)
2. Choose a medium to wide-angle lens to offer plenty foreground/background interest
3. Engage subject (VERY IMPORTANT)
4. Camera Prep: Take ambient reading, test flash / adjust according to taste, Manual Camera Exposure (start at 1/250 at f/5.6, ISO 100), Manual focus (on subject), Manual Preset WB (to taste…. be creative)
5. Flash Prep: Add gels, snoots, grid, softbox, or extension pole for variety (optional), Set flash to manual, 1/8 – 1/16 power to start. lower power =quicker recycle time = more consistent exposure6. Test trigger device. Miss fires? Check connections, Channels.
7. Adjust camera settings or flash power to taste. It is all about balance. Flash too bright? Stop aperture down (make number bigger) and/or power-down flash (make number smaller) or move flash farther from subject. Flash not bright enough? Do the opposite. Background too light? Increase shutter speed (1/500 or to max-camera sync)and/or lower ISO. Increase flash power (make number bigger) and/or stop aperture down (make number bigger). Background too dark? Slow down shutter and/or increase ISO. Keep in mind the flash is lighting subject & camera on tripod, so you can hang around 1/4 of a second
TIP: Practice, Practice, Practice technique with your equipment so you don’t loose client rapport while shooting.
Step B. Shoot
8. Create first “Base” image with no flash
9. Look at back of camera and visualization the extent of the scene (edge to edge)
10. Working with an assistant to trigger camera, start with subject. Have subject remain relativity still for the duration of the exposures.
11. Shoot as many frames as you want… angle flash to create depth from textures & shadows, especially in foreground. Create conflicting shadows if you’d like.
12. Maintain equal distance between flash & flash subject for consistent flash exposures (optional)
13. Explore quality of light AND quantity of light. Consider bouncing flash off objects or directly into camera.
14. Talk with assistant to see if any areas of interest were missed and didn’t get flashed (optional)
15. Review images & repeat (if necessary)
16. Create a second “base” image in case ambient light is shifting quickly, especially at dusk/sunset (Don’t forget!!)
TIP: Consider using alternative light sources such as video lights or flash lights under darker scenes. Consider no lights if you wish (add/subtract people)
Step C. Post-Process
17. Import into Software of choice. If necessary, convert RAW to JPEG using consistent WB/exposure setting
18. In Photoshop, load all JPEGs into one stack. Photoshop CS3/CS4, File > Scripts > Load Files into stack. If camera was steady on a tripod, images should align easily in photoshop. No tripod? The auto-align feature works okay for a few images. Low RAM? Consider importing a few images at a time.
19. Older versions of Photoshop you can Drag & Drop all files into Photoshop, then copy and paste each JPEG as a new layer into your “Base” image. The goal is to have a bunch of layers stacked in one file.
20. Create a layer mask on each layer
21. Locate your “base” image and move it to the bottom. Your “base” can be the shot of the subject’s face.
22. Turn all layers except for base off by holding Alt/Option (Mac) or Ctrl (PC) and click the “eyeball” button.
23. Using your paintbrush set to black (opacity 100%) on your first (non-base) layer, paint on the layer mask (not layer!). it will erase the part of the image you lit with the flash that you want to keep.
24. Invert the layer mask by clicking on the Command (Mac) or Control (PC) and the letter “i” to invert.
25. To fine tune the areas on the image you want to retain, press the “X” key to switch between black & white colors (adding or subtracting from the layer mask).
26. Repeat to all other layers… this will go quickly once you have the process down. You do not have to use all the layers if you don’t want.
27. Save your PSD or if you don’t plan on keeping layers, flatten all layers and at least save a .TIF or .JPEG
28. Salt to taste in Photoshop, Dodge/Burn, Clean-up, Actions (Optional)
29. Save your PSD or flatten all layers and export.
TIP: Experiment more than once the compositing process. Often, choosing different layers and masking different areas will yield other creative results.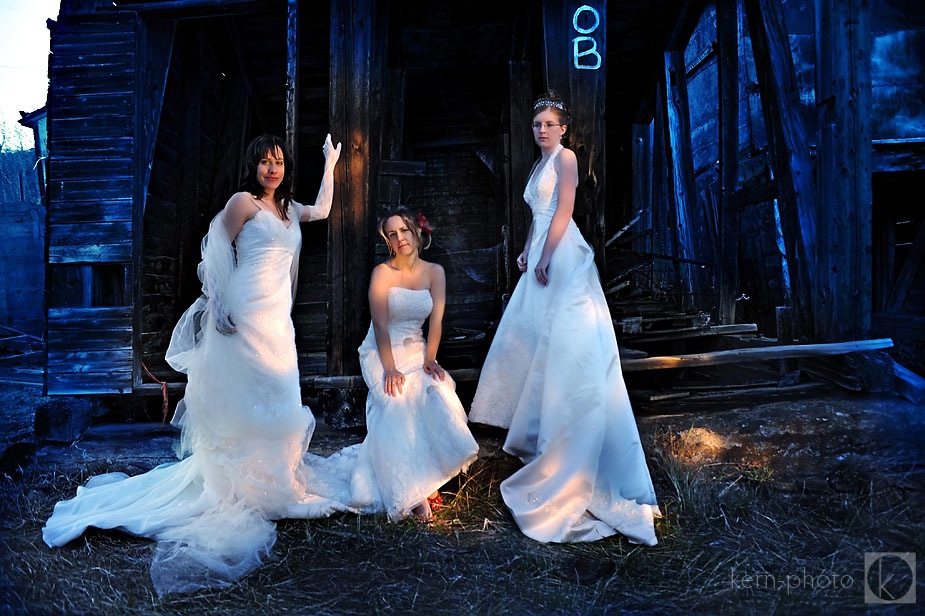
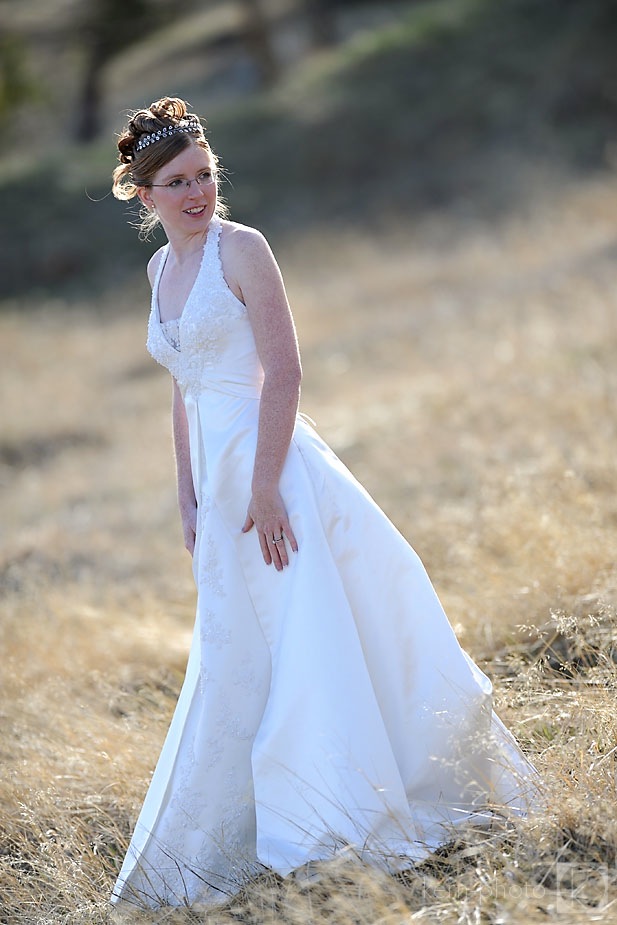
and some favorites from the day, shot with the nikon 200mm f/2.0 (check out that bokeh):
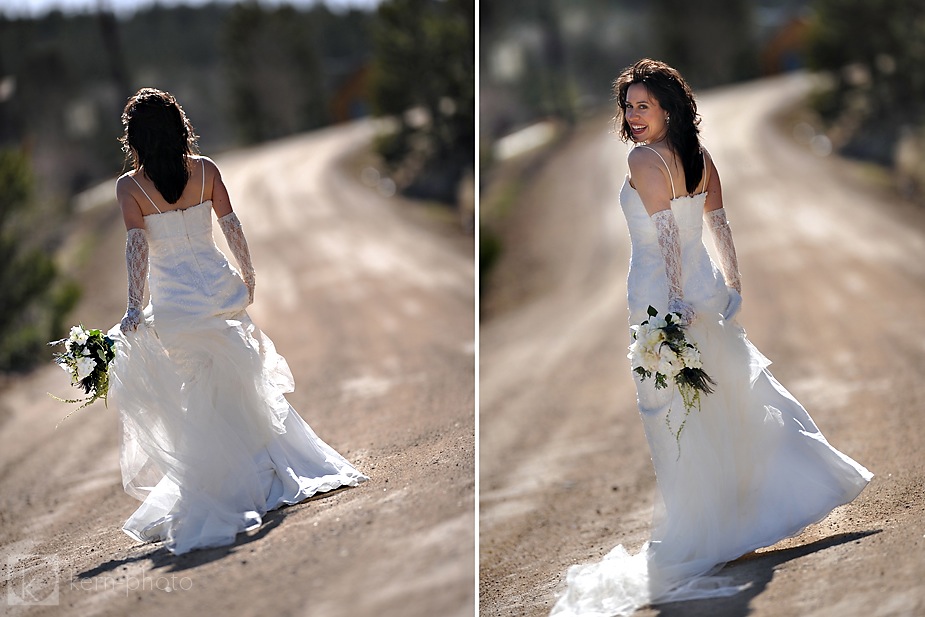
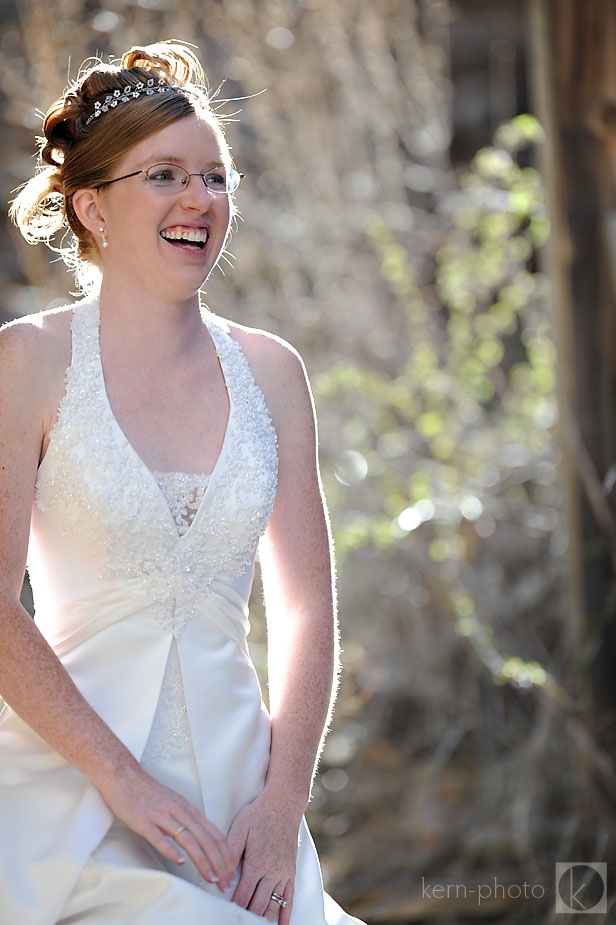
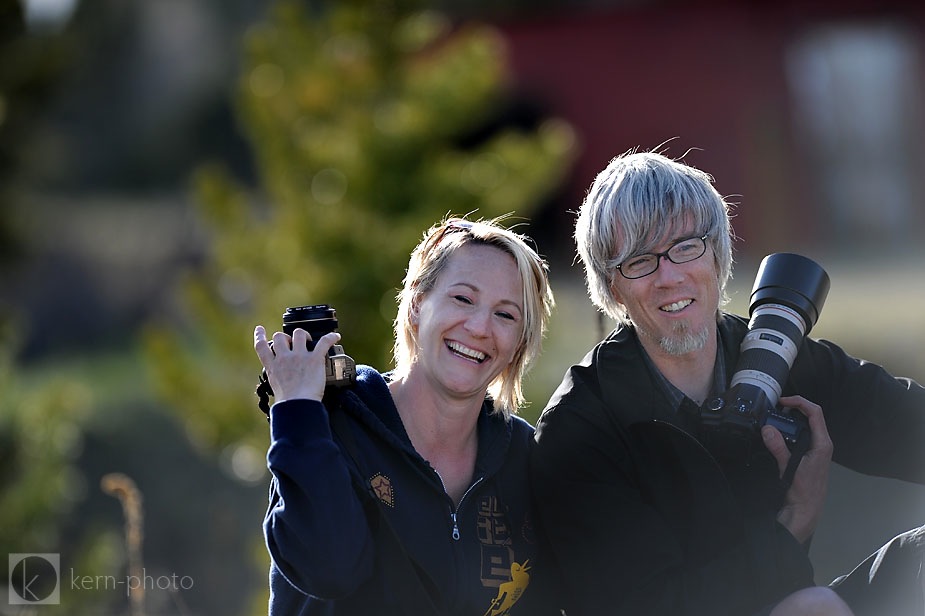
jessica berghold was the ringleader of the event (with kevin with best supporting role):
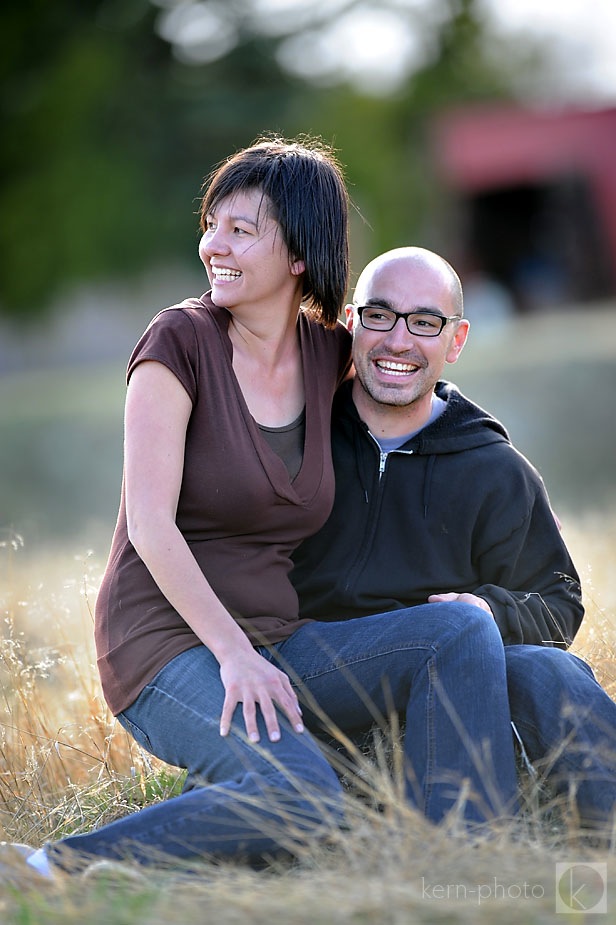
and a candid of zach wear and his wife:


3 Responses to “mile high photographer workshop”