How to Lightpaint in a gold mine {Day & Night}
Had a blast with the lighting technicals with my trash the dress portrait session in a gold mine in Alaska. These types of shoots aren’t geared for making money, but exploring and having fun and staying creative. All goes back to Chase Jarvis’s modus operandi: Create. Share. Sustain.
While these images weren’t made to necessarily win awards, but you could create some unique, killer images with these same technical concepts. I challenge you.
__________
Here’s how you can ‘lightpaint’ during the day:
- Prep Camera. Put camera on Tripod. Choose a medium to wide-angle lens to offer plenty foreground/background interest
- Prep Gear. There are so many things that can go wrong with the technicals. Dead batteries. dropped flashes. Triggering errors. Practice doesn’t make perfect. Perfect practice does.
- Meter light. Take ambient light reading, test flash / adjust according to taste, set manual Camera Exposure to flavor (I like about 1.5-2 stops under). I usually start at 1/250 at f/5.6, ISO 100), Manual focus (on subject), Manual Preset WB (be creative).
- Choose light power. djust camera settings or flash power to taste. It is all about balance. Flash too bright? Stop aperture down (make number bigger) and/or power-down flash (make number smaller) or move flash farther from subject. Flash not bright enough? Do the opposite. Background too light? Increase shutter speed (1/500 or to max-camera sync)and/or lower ISO. Increase flash power (make number bigger) and/or stop aperture down (make number bigger). Background too dark? Slow down shutter and/or increase ISO. Keep in mind the flash is lighting subject & camera on tripod, so you can hang around 1/4 of a second
- Create “Base” image #2, sans flash. You can do this before or after, just don’t forget. This “base” image will make compositing in Photoshop later much easier.
- Trigger camera. I use 4 PocketWizards and a PocketWizard N90M3 Motor Cord to trigger remote camera (10 Pin to Mini). Two to trigger camera, two to trigger flash. That way I can do this technique solo. I’ve learned an assistant pressing the shutter will move the camera, making compositing in Photoshop more difficult to align things. Plus you have to pay them.
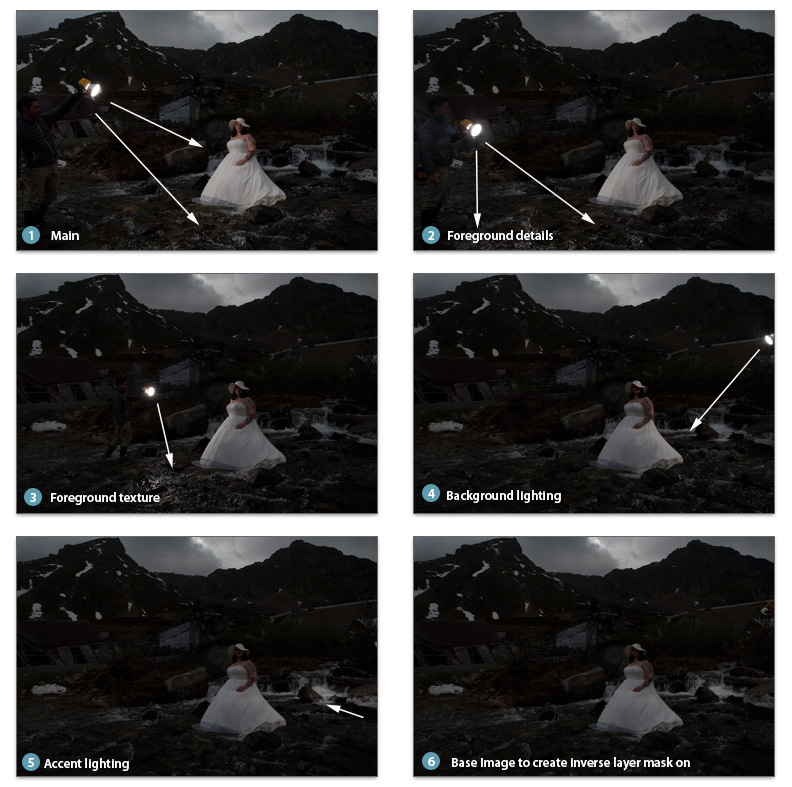
- Shoot. Take as many frames as you want… angle flash to create depth from textures & shadows, especially in foreground. Create conflicting shadows if you’d like. Explore quality of light AND quantity of light. Consider bouncing flash off objects or directly into camera. Maintain equal distance between flash & flash subject for consistent flash exposures (optional). Here’s a video and an overview of the areas where I triggered the camera so you can see what my camera saw:

- Create “Base” image #2, optional… but recommended in the event the ambient light is shifting quickly, especially at dusk/sunset.
- Import Images. If necessary, convert RAW to JPEG using consistent WB/exposure setting. In Photoshop, load all JPEGs into one stack. Photoshop CS3-CS5, File > Scripts > Load Files into stack or right click in LIghtroom your selected set of images. If camera was steady on a tripod, images should align easily in photoshop. No tripod? The auto-align feature works okay for a few images. Low RAM? Consider importing a few images at a time.
- Create a layer mask. This is the tricky part, but the idea is you are “painting” in the layers which have the light from the strobe you like best. Create a layer mask on each layer. Locate your “base” image and move it to the bottom. Your “base” can be the shot of the subject’s face. Turn all layers except for base off by holding Alt/Option (Mac) or Ctrl (PC) and click the “eyeball” button. Using your paintbrush set to black (opacity 100%) on your first (non-base) layer, paint on the layer mask (not layer!). it will erase the part of the image you lit with the flash that you want to keep. Invert the layer mask by clicking on the Command (Mac) or Control (PC) and the letter “i” to invert. To fine tune the areas on the image you want to retain, press the “X” key to switch between black & white colors (adding or subtracting from the layer mask).
- Repeat. Do Step #11 on each of your layers. This process will go quickly once you have the process down. You do not have to use all the layers if you don’t want.
- Save your PSD. If you don’t plan on keeping layers, flatten all layers and at least save a .TIF or .JPEG. Salt to taste in Photoshop, Dodge/Burn, skin-retouch, and other Actions (optional).

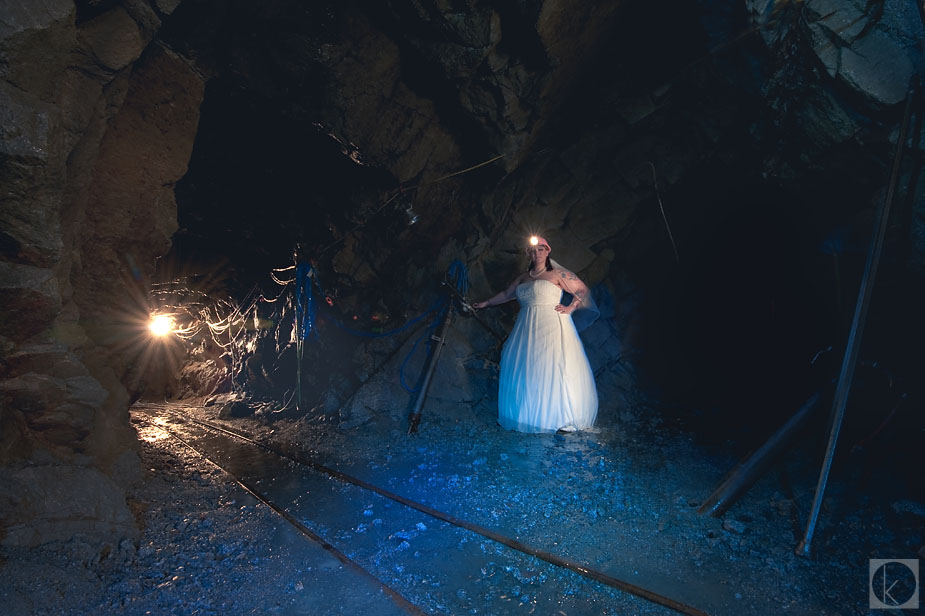
Here’s how you can ‘lightpaint’ at night (or when it is dark like inside a gold mine):
- Prep Camera (see above)
- Wait for shutter to click and then have fun!
- Repeat as necessary (usually takes 3-5 attempts)
Here’s a video showing how it’s done:
<code><iframe src=“http://player.vimeo.com/video/25377512?title=0&byline=0&portrait=0&color=5dbcd9” width=“800” height=“450” frameborder=“0”></iframe></code>
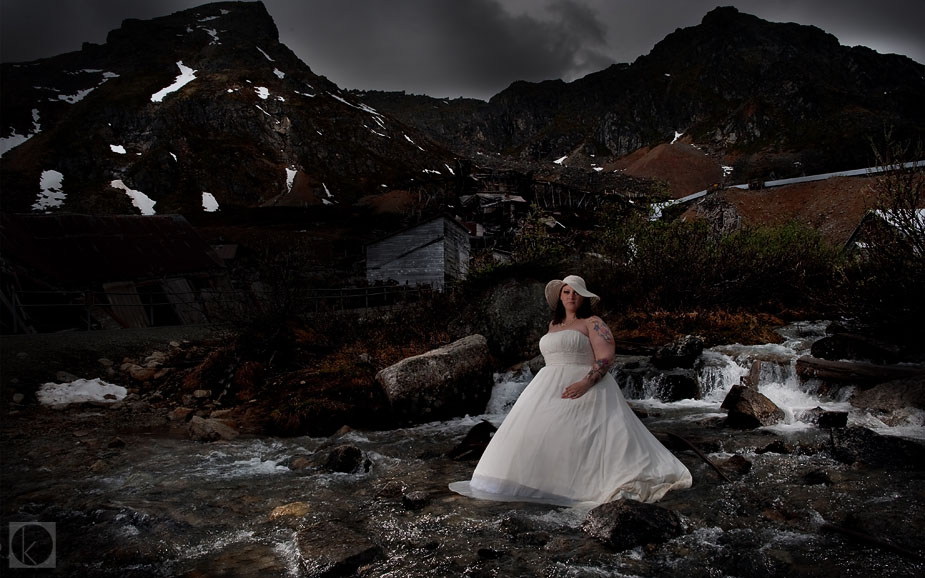
And my final image:
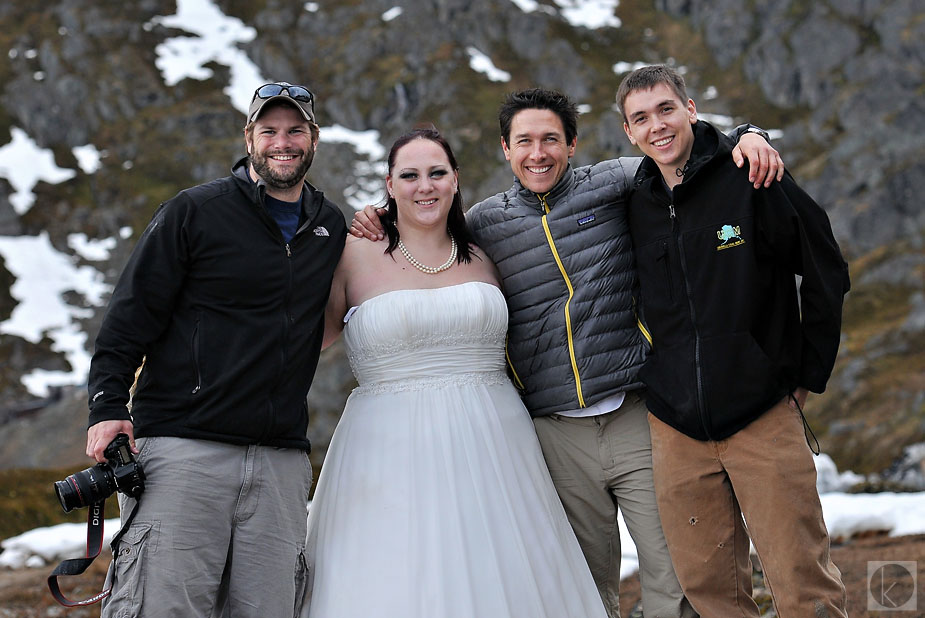
And here’s the entire crew up that made this happen (Special Thanks to Brendan Smith and Ben our awesome tour guide we found through Independence Mine State Historical Park!

If you are interested in learning more, I offer in-person mentoring learning how to lightpaint in additional to sharing advanced light techniques. Click here for info.
Related posts:
- Lightpainting: Tips, Tricks, and Secrets Revealed
- Changes in Style & Technology in Wedding Photography
- Conquering Fear: Award-winning Engagement Session Using Fire


Pingback: The Hit List: 33 Photo Tips & Tutorials from 2011 | Kern-Photo
Pingback: Model Shoot w/ Lindsey » Kern-Photo - Kern-Photo